
Lighting Up Outdoor Trees: Pro Tips for a Safe and Stunning Look
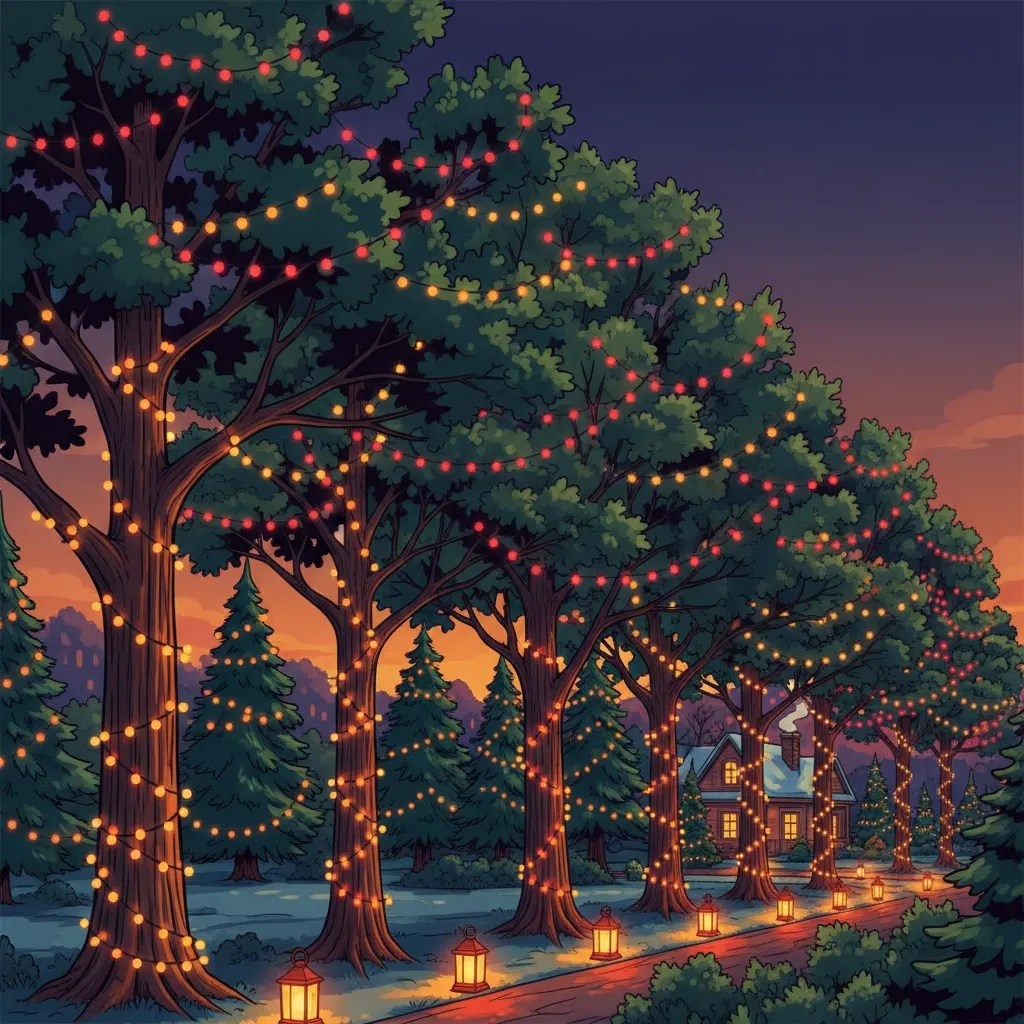
Nothing transforms your yard into a magical winter wonderland quite like beautifully lit trees. Whether you're going all-out for the holidays or just want your landscape to sparkle year-round, lighting up outdoor trees is one of the best ways to boost your home's curb appeal and spread some serious cheer.
But here's the thing: tree lighting isn't just about throwing some strings of lights up there and calling it a day. Done wrong, you could end up with damaged trees, fire hazards, or a display that looks more "hot mess" than "holiday magic." Done right? Your neighbors will be stopping by just to ask how you made everything look so amazing.
Let's dive into the pro tips that'll help you light up your trees safely while creating a display that would make Santa himself jealous.
Safety First: Don't Let Your Trees Become Fire Hazards
Before we get to the fun stuff, let's talk safety: because nobody wants their holiday cheer turning into a holiday nightmare.
Always Use Outdoor-Rated Lights
This might seem obvious, but you'd be surprised how many people try to use indoor lights outside. Outdoor lights are specifically designed to handle cold temps, rain, snow, and everything Mother Nature throws at them. Indoor lights? Not so much. They'll fail fast and could create dangerous situations.
Pick the Right Trees
Not all trees are created equal when it comes to lighting. Hardy evergreens and most mature hardwoods can totally handle the weight and stress of light installations. But be super careful with delicate flowering trees and definitely avoid lighting young trees altogether: their developing branches can't handle the extra weight and stress.
Skip the Staple Gun
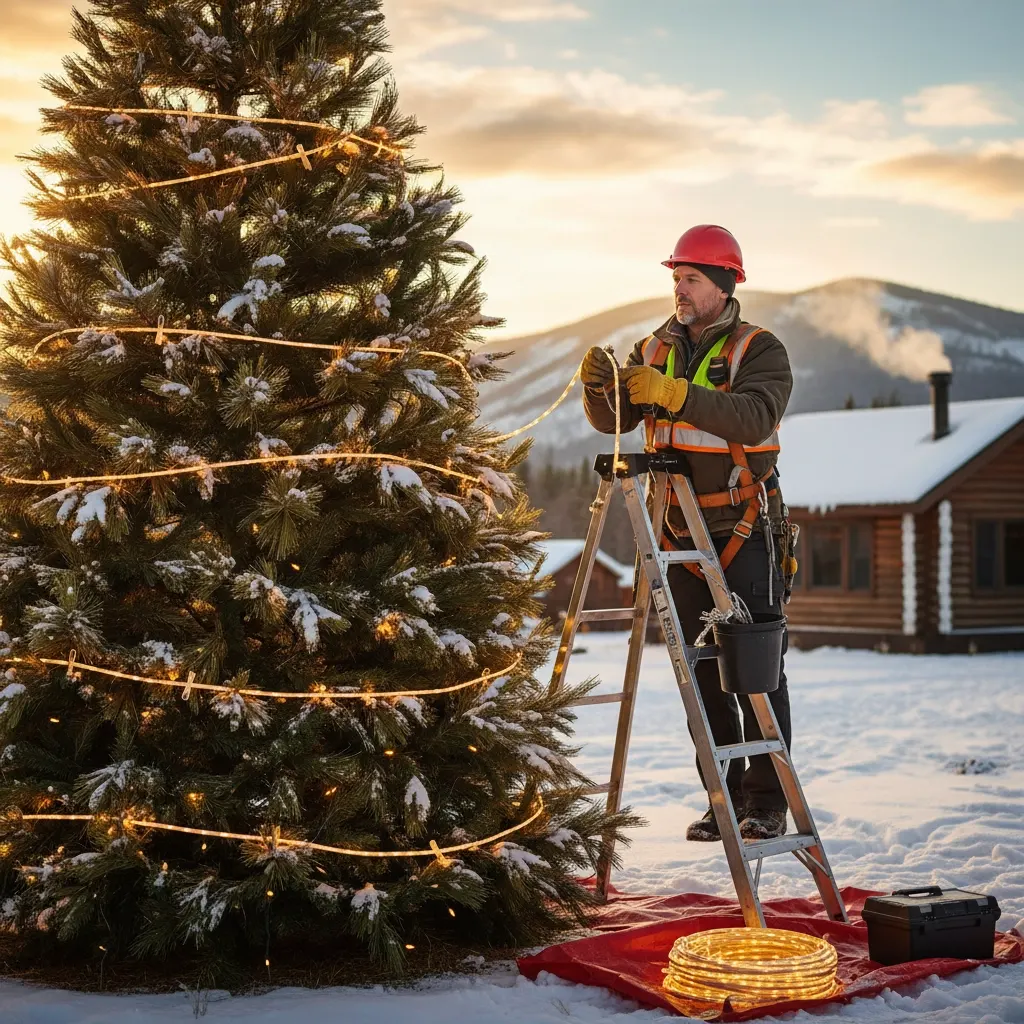
We know it seems like the easiest way to secure lights, but stapling lights to trees is a big no-no. You'll damage the bark and create wounds that can lead to disease or pest problems. Instead, use zip ties, light clips, or other tree-friendly fasteners that won't harm your green friends.
Check Your Equipment
Before you even think about climbing that ladder, inspect every single light strand. Look for frayed wires, cracked bulbs, or damaged plugs. If something looks sketchy, toss it and get new lights: it's not worth the risk.
Choosing the Right Equipment for Stunning Results
The difference between a professional-looking display and something that screams "DIY disaster" often comes down to using the right gear.
LED Lights Are Your Friend
LED lights aren't just energy-efficient (though your electric bill will thank you): they're also way safer than traditional incandescent bulbs. They run cooler, last longer, and are much less likely to cause fires. Plus, they come in tons of colors and effects these days.
Consider Beam Angles for Uplighting
If you're planning to light your trees from below (called uplighting), beam angle matters big time. For tall, narrow trees, go with narrow beams (15-30 degrees). For full, bushy trees, wider beams (40-60 degrees) will give you better coverage and a more even glow.
Color Temperature Sets the Mood
Warm white lights (2700K-3000K) create that cozy, traditional holiday feeling. Cool white (4000K and up) gives you a more modern, crisp look. Both can be gorgeous: it just depends on the vibe you're going for.
Weather-Resistant Fixtures
Make sure any fixtures, timers, and electrical connections are specifically designed for outdoor use. This isn't the place to cut corners: weather-resistant gear will keep your display running smoothly all season long.
Installation Techniques That Actually Work
Now for the fun part: actually getting those lights up there and making them look amazing.
Plan Your Layout First
Before you touch a single light, walk around your trees and visualize where you want lights to go. Think about what you'll see from inside your house, from the street, and from different angles in your yard. This planning step will save you tons of time and frustration later.
Start from the Bottom
Whether you're wrapping branches or doing uplighting, start at the base and work your way up or out. This gives you better control and helps ensure even coverage.
Keep It Natural
The goal is to enhance your tree's natural beauty, not turn it into a glowing alien spaceship. Follow the natural lines of branches and trunk, and don't over-light. Sometimes less really is more.
Secure Everything Properly
Make sure all cords and connections are secure and protected from moisture. Use weatherproof covers for outlets and connections, and keep cords away from foot traffic areas where they might get damaged.
Creating Different Lighting Effects
Want to take your tree lighting game to the next level? Here are some techniques the pros use:
Uplighting for Drama
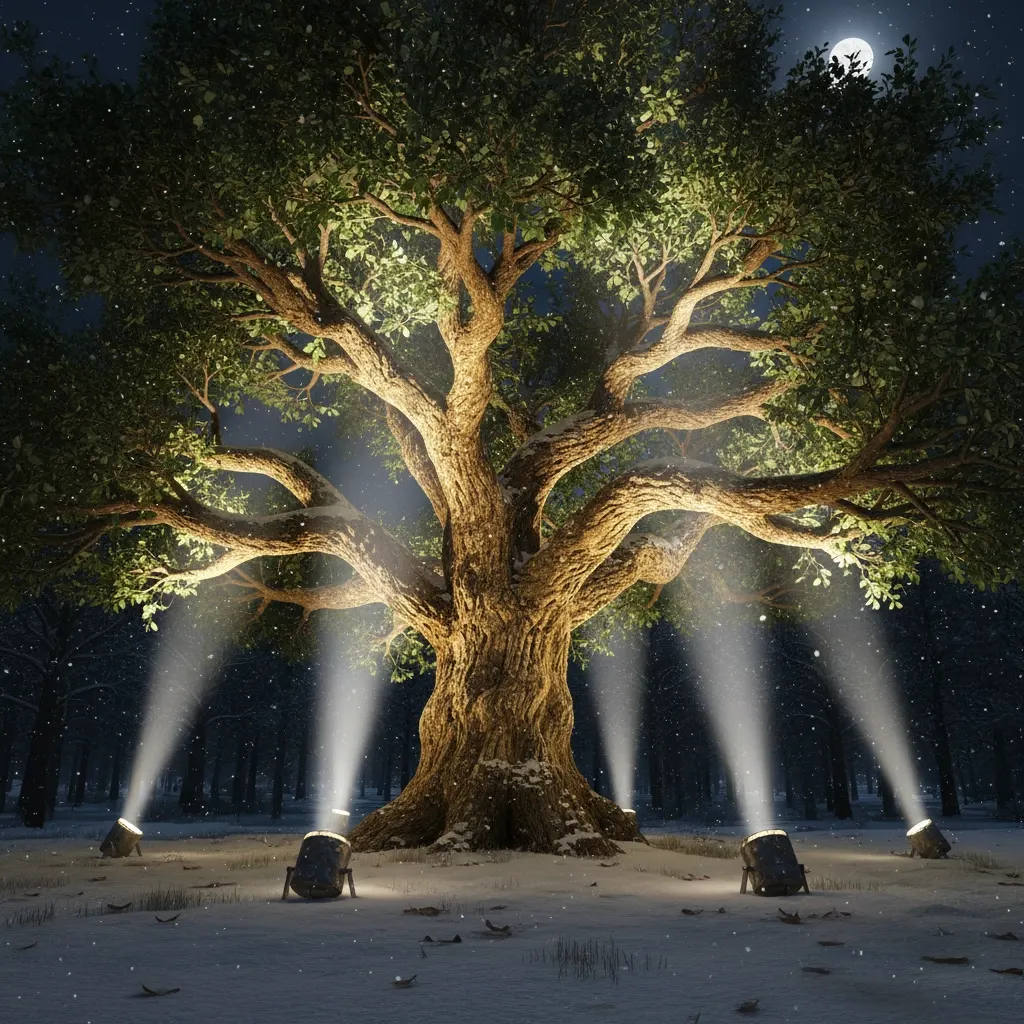
Position lights at ground level, angled up toward the tree. This creates beautiful shadows and highlights the tree's structure and texture. Place the fixtures several feet away from the trunk to avoid harsh hot spots and get more even coverage.
Branch Wrapping for Sparkle
Wrapping lights around branches creates that classic twinkling effect. Start at the base of each branch and spiral out toward the tips. This takes more time but creates incredible depth and sparkle.
Canopy Lighting for Fullness
String lights through the upper branches to create a glowing canopy effect. This works especially well for trees with dense foliage and creates a magical overhead glow.
Trunk Spotlighting
Don't forget the trunk! A few well-placed spotlights on interesting bark patterns or unique trunk shapes can add serious visual interest to your display.
Pro Tips for Long-Term Success
Use Timers
Nobody wants to trudge outside every night to turn lights on and off. Good timers will handle this automatically and can even help extend the life of your lights by preventing them from running 24/7.
Plan for Maintenance
Even the best installations need some TLC throughout the season. Check your lights weekly for any issues, and keep spare bulbs and fuses on hand for quick fixes.
Think About Neighbors
Make sure your lighting isn't shining directly into neighbors' windows or creating light pollution issues. Good lighting should enhance the whole neighborhood, not annoy the people next door.
Document Your Setup
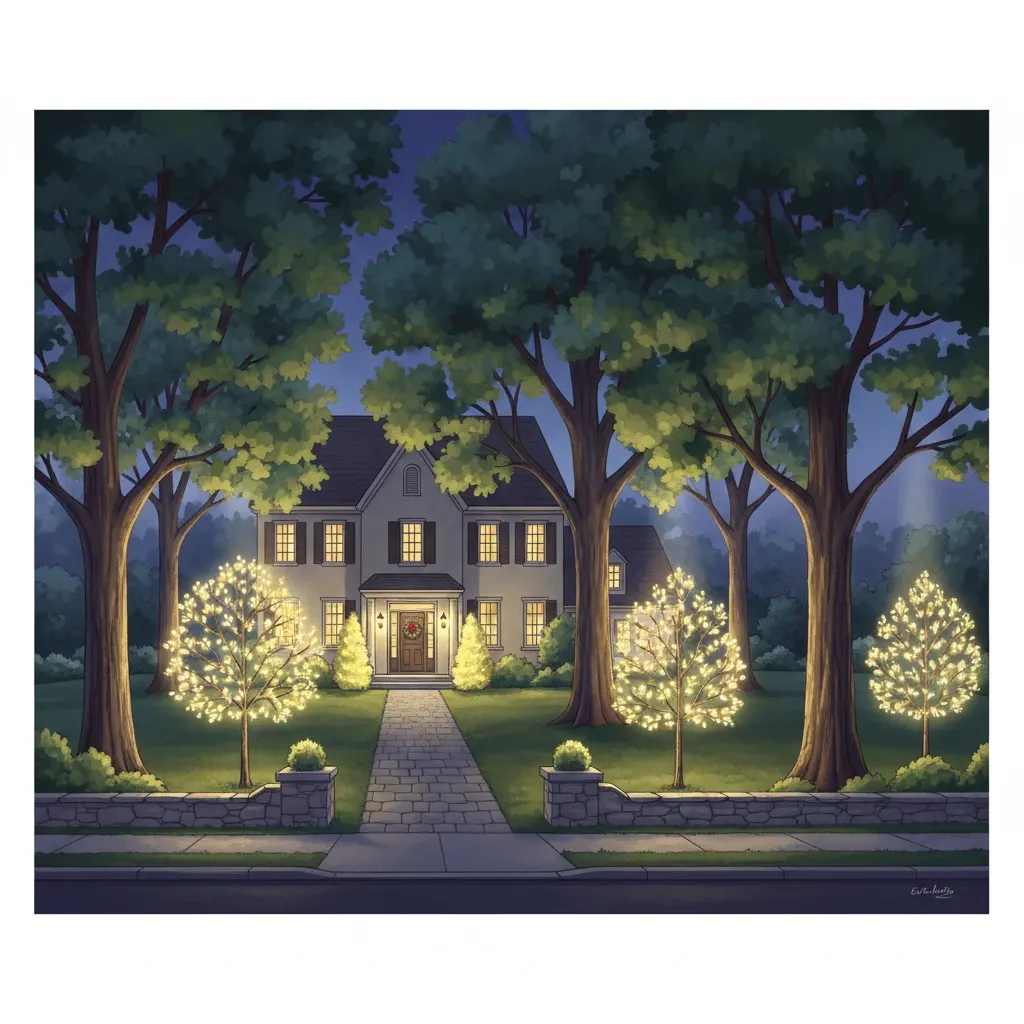
Take photos of your installation before you pack everything away. You'll thank yourself next year when you can't remember exactly how you had everything positioned.
Common Mistakes to Avoid
Over-lighting
More isn't always better. Too many lights can make your display look chaotic and artificial. Aim for balance and let your trees' natural beauty shine through.
Mixing Color Temperatures
Stick with one color temperature throughout your display. Mixing warm and cool whites creates a disjointed look that doesn't feel intentional.
Ignoring Weather
Plan your installation for a calm, dry day. Trying to install lights in wind, rain, or snow is not only miserable: it's dangerous.
Forgetting About Takedown
Have a plan for removing and storing your lights at the end of the season. Proper storage will help your lights last for years to come.
When to Call the Pros
Let's be real: sometimes the best DIY advice is knowing when not to DIY. If you've got really tall trees, complex electrical needs, or just don't have the time or energy to tackle a big installation, professional installation might be the way to go.
Professional installers have the right equipment, insurance, and expertise to handle tricky installations safely. Plus, many services include maintenance and takedown, so you can just enjoy your beautiful lights without any of the hassle.
Your trees are going to look absolutely amazing this season. Whether you're going for subtle elegance or full-blown holiday spectacular, these tips will help you create a display that's both safe and stunning. Ready to get started? Your magical winter wonderland is just a few light strands away! 🎄✨
Want it done for you?
Free on-site walk-through, fixed price, no obligation.