
Stop Wasting Time on DIY Holiday Lights: Try These 7 Professional Installation Hacks
Ho ho ho! Ready to deck the halls without pulling your hair out? Every year, Lake Norman homeowners spend countless hours wrestling with tangled lights, wobbly ladders, and displays that look more "oops" than "wow." But here's the jolly good news: professional installers have cracked the code on efficient, stress-free holiday lighting!
After years of bringing Christmas magic to homes across Mooresville, Huntersville, and Lake Wylie, we've gathered the top 7 installation hacks that'll save you time, energy, and maybe even your sanity. These aren't just tips – they're game-changing strategies that transform your holiday decorating from a dreaded chore into a merry adventure.
Hack #1: Do All Your Ground Work First (Save 40% of Your Time!)
Here's where most DIY decorators go wrong – they climb the ladder with a handful of lights and try to install clips, bulbs, and wires while balancing 20 feet in the air. That's like trying to thread a needle during an earthquake!
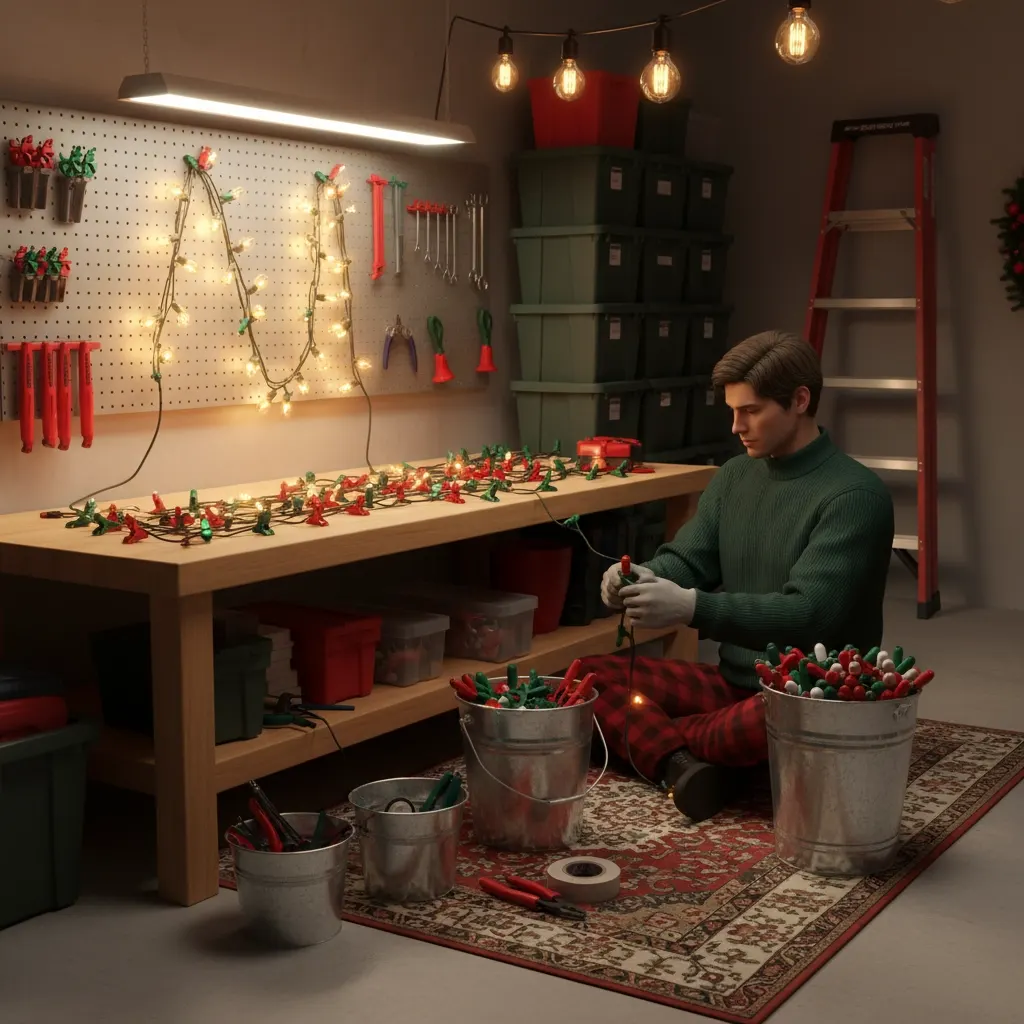
Professional installers complete all bulb and clip installations on solid ground before heading up to the roof. This simple switch eliminates awkward positioning, reduces dropped components, and cuts installation time nearly in half.
The Ground Game Strategy:
- Install all clips on your light strings while sitting comfortably
- Screw in every bulb tight and secure (loose bulbs 24 hours later mean service calls!)
- Test every connection before you climb
- Organize your tools in a bucket you can pull up with rope
This approach isn't just faster – it's safer too. No more fumbling with tiny clips while trying not to fall off a ladder!
Hack #2: Invest in Commercial-Grade Equipment (Your Future Self Will Thank You)
Consumer-grade lights from big box stores might seem budget-friendly, but they're actually time thieves in disguise. Flimsy construction means more failures, more replacements, and more frustrating mid-season repairs.
Professional-quality light strings with sealed construction provide excellent durability against wind, water, snow, and dirt. You won't waste precious December weekends dealing with faulty strings, fallen lights, or mysterious power outages.
What Makes Professional Lights Worth It:
- Sealed sockets that resist moisture and corrosion
- Heavier gauge wire that handles weather extremes
- Better bulb retention (no more picking lights off your lawn)
- Longer warranties that actually mean something
The upfront investment pays for itself in reduced maintenance time. Plus, your display will look crisp and bright all season long – just like the pros in McAdenville!
Hack #3: Use Plug-and-Go LED Solutions for Instant Impact
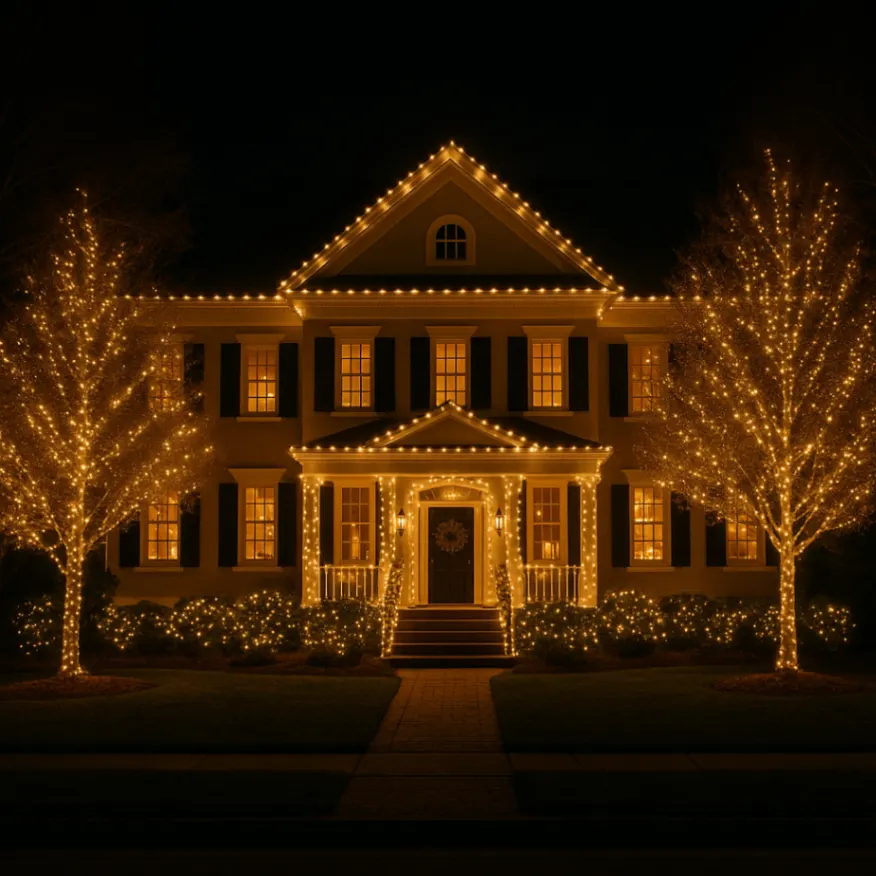
Want to know a secret? Those stunning displays that make you slow down while driving? They're not just thousands of individual lights carefully placed. Smart installers use LED decorations like snowflakes, folding spheres, and starlight spheres to create maximum visual impact with minimum installation time.
These pre-made elements eliminate complex light arrangements while providing that "wow factor" everyone wants. Instead of spending hours creating patterns with individual bulbs, you can achieve professional results in minutes.
Time-Saving LED Options:
- Folding sphere lights for trees and bushes
- LED snowflake decorations for walls and fences
- Starlight spheres for dramatic focal points
- Pre-lit garland for quick porch decoration
By simplifying your design with these commercial-quality decorations, you'll have more time to enjoy hot cocoa and holiday movies instead of untangling lights in the cold!
Hack #4: Master the 2-4 Inch Positioning Rule
Here's a pro trick that makes all the difference: position lights 2 to 4 inches away from walls and surfaces for optimal brightness and even illumination. This isn't just about aesthetics – proper positioning prevents shadows, reduces hot spots, and makes your entire display look more polished.
Before installing anything, clean surfaces thoroughly to maximize adhesive effectiveness. Dirt and grime are the enemies of secure light installation!
The Professional Positioning Process:
- Clean all surfaces with a damp cloth
- Measure 2-4 inches from the wall edge
- Use your thumb as a spacing guide for sockets
- Secure with staples approximately one inch on each side of sockets
This technique works especially well on fascia boards. Place your thumb halfway on the socket and halfway on the fascia bottom, then staple securely. The result? Perfectly spaced, professionally aligned lights that stay put all season.
Hack #5: Plan Your Slack Strategy (Avoid the Dreaded Restart)
Nothing ruins a good installation mood like running out of wire length halfway through a roofline. Professional installers always pull up enough slack at corner points and ridges before starting the actual installation.
This prevents the nightmare scenario of having to restart entire sections because you miscalculated wire length. Trust us – it's better to have excess wire than to be short and need to redo hours of work!
Smart Slack Management:
- Pull extra wire at every corner and connection point
- Leave a couple of extra bulbs hanging over connection areas
- Plan your power source locations before you start
- Keep extra extension cords handy for unexpected gaps
Planning ahead with proper slack management turns installation from a guessing game into a smooth, predictable process. Your back (and your patience) will thank you!
Hack #6: Use the Right Hardware for Each Surface
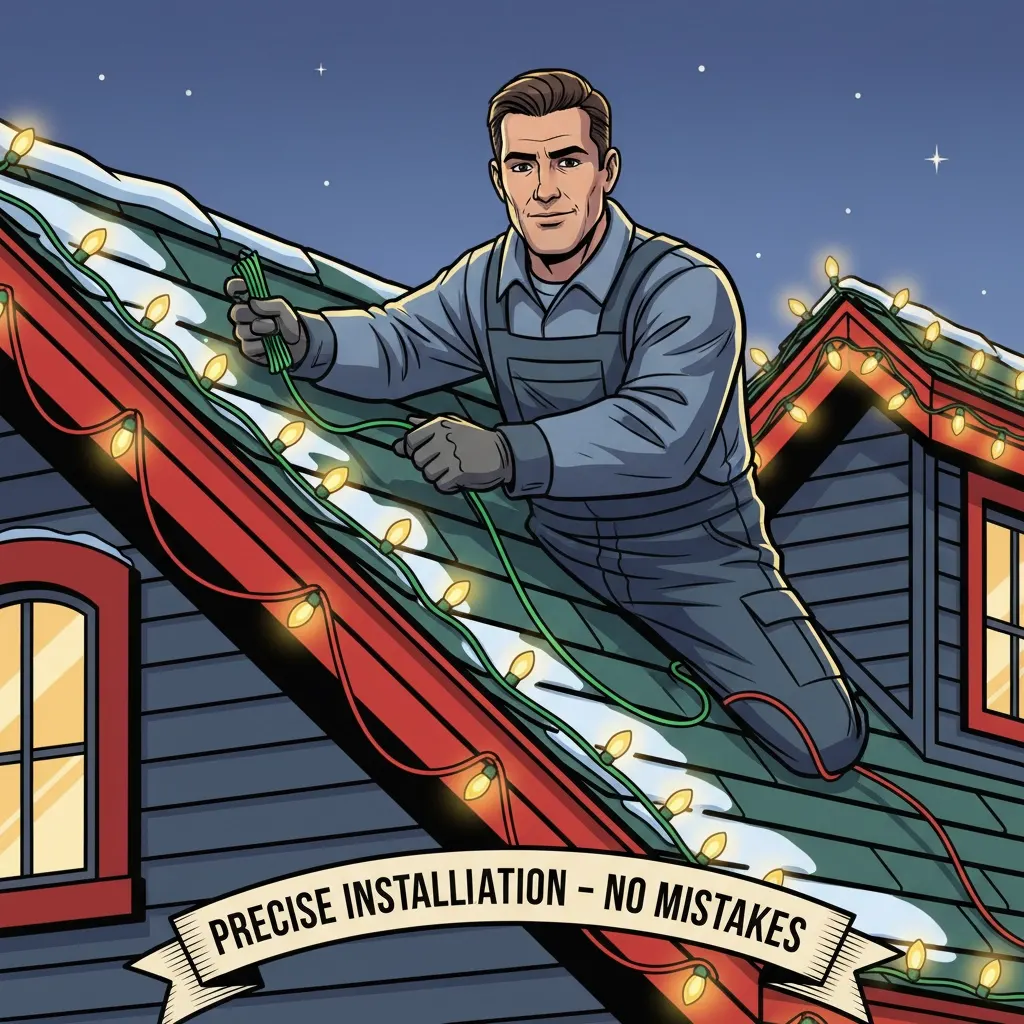
Different surfaces need different attachment methods – and using the wrong hardware wastes time and can damage your home. Professional installers come prepared with specific tools for each surface type.
Surface-Specific Hardware Guide:
- Gutters and roofs: Plastic clips or hooks prevent damage
- Trees and bushes: Flexible ties or clips allow for growth
- Brick and stone: Adhesive hooks rated for outdoor use
- Vinyl siding: Special clips that won't crack or leave marks
Having the correct hardware ready for each surface eliminates trial-and-error attempts. No more running to the hardware store mid-installation because your clips don't fit properly!
The key is preparation. Walk your property first, identify all the different surfaces you'll be decorating, then gather the appropriate hardware for each area.
Hack #7: Perform a Complete Dry Run Indoors
This hack might seem like extra work, but it saves massive amounts of time and frustration. Before you climb a ladder or clip anything to your roofline, test everything in your garage or living room first.
Set up your entire lighting system indoors – controllers, power supplies, all connections, and timers. This prevents the heartbreak of installing hundreds of lights only to discover compatibility issues or faulty components.
Your Indoor Testing Checklist:
- Test all light strings for functionality
- Verify controller and timer settings
- Check power supply capacity
- Test all extension cord connections
- Program any smart lighting features
Finding problems indoors means simple exchanges at the store. Finding problems after installation means taking everything down and starting over!
Bonus Time-Saving Tips from the Pros
Keep Bulbs Accessible: Store bulbs in your pocket or tool pouch rather than carrying them separately. This eliminates constant trips up and down the ladder.
Gather Everything First: Before install day, have all supplies ready: LED light strands, gutter and shingle clips, timers, outdoor-rated extension cords, and a sturdy ladder. Multiple hardware store trips kill momentum and waste time.
Work in Good Weather: Don't fight the elements. A sunny, calm day makes installation twice as fast as a windy, cold one.
Start Early in the Season: Beginning your installation in early November means you're working in better weather and have time to fix any issues before the holidays arrive.
Ready to Skip the DIY Stress Altogether?
These professional hacks can transform your holiday light installation from a dreaded chore into an efficient process. But let's be honest – even with all these tips, installation still takes time, effort, and a fair amount of ladder climbing.
If you'd rather spend your weekends enjoying the holiday season instead of wrestling with lights, Christmas Lighting Done 4 U has you covered. We serve homeowners throughout Lake Norman, Mooresville, Huntersville, and Lake Wylie with complete installation, maintenance, and removal services.
Our team knows all these hacks (and many more!) because we use them every day to create stunning displays for families just like yours. From residential Christmas light installation in Mooresville to elegant displays in Huntersville, we bring the magic without the stress.
Ready to make this your most magical (and stress-free) holiday season yet? These professional installation hacks will get you there – whether you DIY it or let the pros handle it all. Either way, your home will be the talk of the neighborhood, and you'll have more time to focus on what really matters: making merry memories with the people you love!
Remember, the goal isn't just to get lights up – it's to create a display that brings joy to everyone who sees it. With these professional techniques, that dream is absolutely within reach. Happy decorating! 🎄✨
Want it done for you?
Free on-site walk-through, fixed price, no obligation.